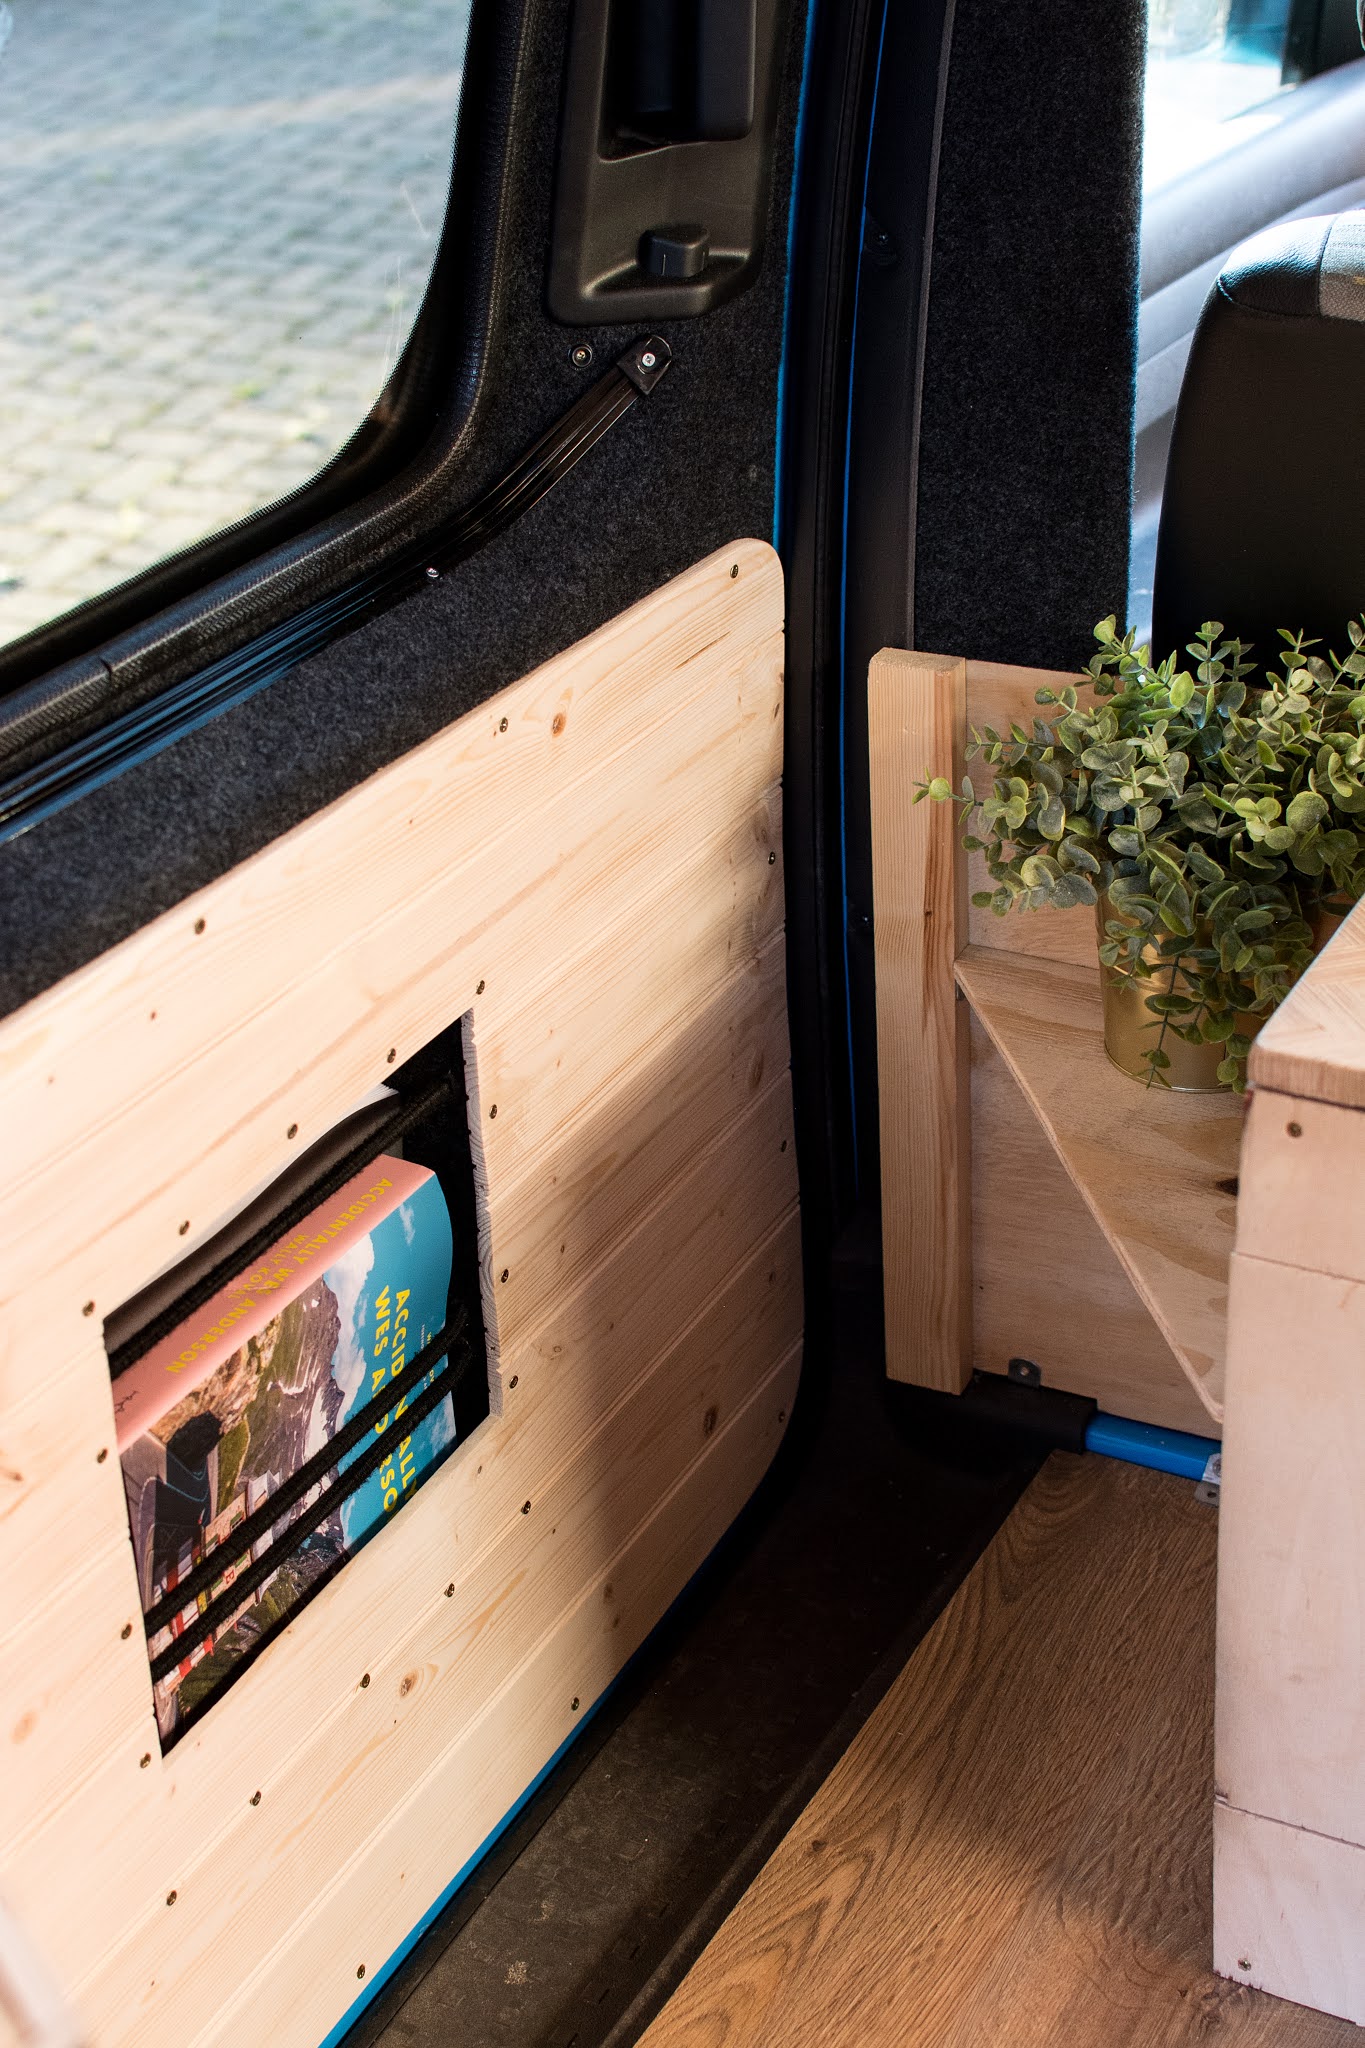
The finished door, however it took a lot of work to get to this point.
 |
 |
I split building the door into 3 stages.
- Cutting out the door skin and installing windows
- Carpeting the door, and installing curtains
- Building the panel and installing
Stage 1 is covered on the link above, so straight into stage 2
Carpeting and blackout curtains
 |
 |
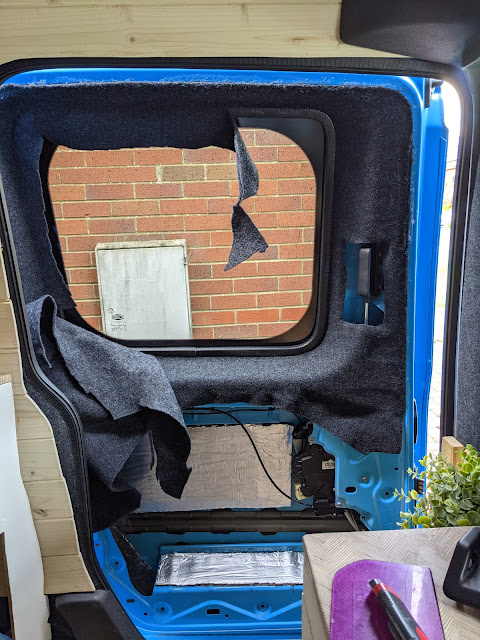
So, after installing the windows, I carpeted the doors. Ideally, I should of done this during the window fitting process (once I'd cut out the hole, but before the trim was added and the window installed. But I simply did not have the time to do it all in one.
To start off, I took off the interior door handle, taped off the rubber trim and covered the glass with newspaper, and sprayed the door with high temp carpet adhesive - stuff specifically for going in campervans etc. Then I stuck the 4 way stretch carpet to the door, starting at one corner, and working my way around. When I got to the window. I just cut a cross shape and worked my way around it like you would a plug socket when wallpapering.
Then, It was a case of neatening it up and trimming of the huge excess and around the edges. To begin with, i used scissors, however I found it much neater o use a Stanley knife (but not going too deep to scratch the paintwork below) and a calk board - for a nice straight edge to cut against.
Next job, the curtains.
I didn't want actual curtains on a pole - they would be too bulky, flap around when driving and just take up too much space.
After looking online, I came across Van-X.
The curtains are blackout, made for the caddy, and attached on two rails top and bottom - to prevent flapping around.
When they come, the rails are straight, so you have to bend them to shape to 'form' them to your door.
I made myself a little jig for bending them
Once all attached, they looked like this
Door panel with storage
So, the door actually has a big gap inside it, behind where a panel would sit. I decided to use some of this space as extra storage. With being a small van (micro camper) any extra space is valuable.
I made the wooden tongue and groove panelling to match the cladding on the walls
I used the original door card as a template for the panelled one, sanded it and finished it in it Osmo, once it had been cut out.
I then built a box, out of leftover ply that I had laying around
This would be the 'cupboard part' within the door panel.
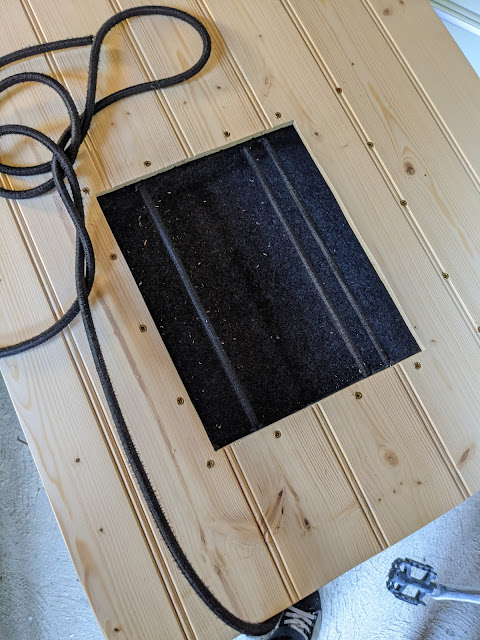
I then carpeted inside the box, so whatever was stored in there would be protected.
I positioned where I wanted it on the door card, then cut out a hole for it and screwed them both together.
Once together, I drilled through the box and tied in some elastic bungee, so things wouldn't fall out the storage cupboard.


